Someone sent a screenshot from their home in Callistei to Andrew Sullivan, and it made his blog! The View From Your Window
RL/SL exhibit in Victoriana
There’s a lovely exhibit of photos comparing buildings in Victoriana and the real-life buildings that inspired them.
Hat contest
Inspired by my friends in the Consulate of Europa Wulfenbach, I wish to announce a CONTEST for best hat. Because, of course, one can never have too many hats.
Two competitive divisions:
Tipjar hats
- 30 points for ostentation
- 30 for cleverness of thank you reply
- 30 for special effects
- 10 at judges’ discretion
- Please note that points will be deducted for tipjar hats deemed unusable.
Hats to wear
- 30 points for ostentation
- 30 for versatility
- 30 for special effects
- 10 at judges’ discretion
- Please note that points will be deducted for hats deemed easily lost (because, of course, any plan where you lose your hat is a bad plan.)
- Hats should be gender-role-free
- Two classes: Tiny and Tall
To enter
Hats should be named “tipjar – contestant name,” “tiny – contestant name,” or “tall – contestant name” and dropped on the judges, Otenth Paderborn, Frau Annechen Lowey, and Baron KlausWulfenbach Outlander, no later than Friday, October 10. Entries should be copiable, and in the case of hats to wear, modifiable, but need not be transferable. Contestants may enter in multiple classes.
Winners
Winners will be announced here and at an event to be held Saturday, October 11 (12-2pm SLT at the Wyre Fairgrounds; winner need not be present to win). Cash prizes will be awarded:
- L$ 1000 to highest scoring tipjar
- L$ 1000 to highest scoring wearable hat for tinies
- L$ 1000 to highest scoring wearable hat for talls
- L$ 1000 to contestant with highest combined total score
- L$ 1000 to highest scoring entry
Adventures with .raw files
Part of the expansion of Orcadia was made possible by a partnership between nox Pinion and I: Muckle Green Holm will house nox’s building efforts in the sky, while the ground level will provide an experimental and sales space for my terrain files.
The current maze in Muckle Green Holm has gotten enough positive comments that I’ve started work on other maze and labyrinth terrains. It’s still somewhat of an experimental process, however, as these photos will attest:
AM Radio installation finale
By pure chance, on Thursday evening I was half-way paying attention to the Caledon state channel when people started chatting about fireworks. As luck would have it, the weekly Unitarian Universalist worship service had just ended, so I decided to TP over. The fireworks in question were on a sim that was displaying an installation by the artist AM Radio (he of David’s Marat and The Far Away), and it was the final night of the installation. What luck! Here are a few of my photos, which cannot do justice to the work.
Make your voice heard
The official Linden blog has a post on The Big Prim Problem:
For quite a while now Second Life has been home to a variety of jumbo-sized prims, megaprims, and other larger than the usual ten-meters-maximum prims. The original “megaprims†were produced by Residents’ manipulation of the client last year; “new†ones cannot be made, but the existing supply can be (and are) copied and distributed. Linden Lab doesn’t support or encourage the use of these prims, but our policy up until now has been ‘live and let live’.
They are inviting responses in the comments. If you use big prims, or products made with them, you’ll probably want to go say so.
Update:
I went to add a comment, but they have maxed out at 151 comments. Original post: Friday, October 12th, 2007 at 1:33 PM PDT by: Michael Linden. Comment 151: October 12th, 2007 at 2:51 PM PDT
So, just in case Michael Linden is reading this:
Good: Trees (just go take a look at Heart, and then see how many of their trees are making SL a beautiful place); buildings; roads and sidewalks; sculptie mountains (take a look at Lovelace or Caledon Primverness)
Bad: I’ve never encountered any griefing or inconvenience from others. I have, however, had a couple of scary moments when I took a megaprim out of inventory without understanding exactly what it was. (I knew it was a megaprim; I did not know exactly what shape it would be. One item in a collection of megaprims was actually scripted to create a layer of megaprims over the whole sim.) The only downside I’ve ever encountered would be eliminated if I could simply create my own prim larger than 10 meters. In other words, the only negative experience I’ve ever had with a megaprim was created when Linden Lab drove them underground but did not eliminate them in the first place.
Ideas: Allow legitimate creation of prims larger than 10m, with documentation on their use. (Oh, right! Linden Lab can hardly do documentation! Well, allow them with hearsay and rumors about how to use them.) I think 20 or 30 meters would be an acceptable size limit, although I’ve used larger and I’ve seen exceptional builds that depend upon larger (especially larger spheres). Make the existing ones no copy/no trans, no matter what their size.
– the larger ones, when used on the mainland, often produce annoying “parcel encroachment†situations. The megaprims are difficult to interact with, and are often not recognized by Residents as being an object at all — “I couldn’t go past some kind of invisible barrier.†Abusive Residents take advantage of these problems.
This is not about megaprims at all. This is about abusive residents. Do something about that problem, why don’t you?
– the presence of megaprims will interfere with the improvements planned for the physics engine. The bigger the megaprims, the more trouble they will cause for physics simulation in a Region.
How big? How much “trouble”? Why would an improved physics engine handle them worse than the current physics engine? This sounds like a bogus excuse.
– the graphics engine does not work well with prims over 256 meters in any dimension.
Okay, finally something specific. Prohibit prims over 256 meters. (I think the limit can be substantially lower. I can think of only a few uses for truly enormous prims.)
A vision of architecture
This seems pertinent to Second Life (though not, so much, to Caledon!): An Interview with Lebbeus Woods
Woods’s work is the exclamation point at the end of a sentence proclaiming that the architectural imagination, freed from constraints of finance and buildability, should be uncompromising, always. One should imagine entirely new structures, spaces without walls, radically reconstructing the outermost possibilities of the built environment.
If need be, we should re-think the very planet we stand on.
Torley’s tips weeks 4 and 5
Tip of the week #4: How to use beacons and highlighs
General tip
When you are in a menu with a ========= at the top, you can tear it off into its own movable window.
Beacons and highlights
The various beacons (3-D cross-hairs) appear under view menu; these will help you find specific kinds of objects (including griefing objects that are spewing particles).
When you turn on the highlight beacons under the view menu, you won’t see any change on the screen unless you are in the edit mode, or use View > Beacons Always ON
Types of objects:
- scripted items with touch only: red beacon (shows only scripted objects that activate when touched)
- items with scripts in them (shows ALL scripted objects)
- physical objects: green beacon
- sound sources: yellow beacon (show whenever the sound is playing)
- particle sources: blue beacon
Highlights are an alternative to beacons, makes objects slightly red (but not sound sources). You can use either or both.
In Edit > Preferences > Graphics you can change the width of the beacon (currently only up to 10).
When you turn on beacons, in the lower right corner of the viewer there will be a list of the beacons that are currently on.
Dealing with griefing objects
You can hide particles several ways: In the View menu, click “Hide Particles”, in the Client menu > Rendering > Types > Particles (CTRL-ALT-SHIFT-=, CMD-OPT-SHIFT-= on Mac). [Torley didn’t mention it, but you can also turn particles to 0 in your preferences.]
If an object is spamming particles, use the View menu to turn on the beacons for particle sources while hiding particles, and you will more easily find the griefing object and can return it to owner (assuming you are on land where you have the power to do that).
Tip of the week #5: Useful “Show” options in the Tool menu
General Tip
World > Force Sun > is a local effect. You can set the sun on your viewer to Sunrise, Noon, Sunset, or Midnight. No one else will see this change in the lighting.
Show Hidden Selection
Create a cube as an example (easier to see if you blank the texture and make it gray).
When editing, a yellow glow shows the edges of objects. “Show Hidden Selection” will show all the edges, even the ones inside the object or on the back.
Show Light Radius for Selection
When editing an object you can make it into a light source in the Features tab (check the box); you can also choose the color of the light and three other variables.
To see the effect of making an object a light source, you must be using Nearby Local Lights in Preferences > Advanced Graphics (whether you can see this depends on your computer’s graphics card). It’s easier to see if you use World > Force Sun > Midnight.
Show light radius for selection shows you the sphere where the light will reach (the actual effect is affected by falloff).
You can also select objects owned by other people to see the light radius.
Show Selection Beam
Default is on; these are the dots that appear between you and objects you are editing. These dots are a particle effect, and you can change the dots’ color in Preferences > General > Color For My Effects. This is a viewer-side control: Disabling it will hide everyone’s beams on your screen but everyone else will still see your beam if they still have it enabled.
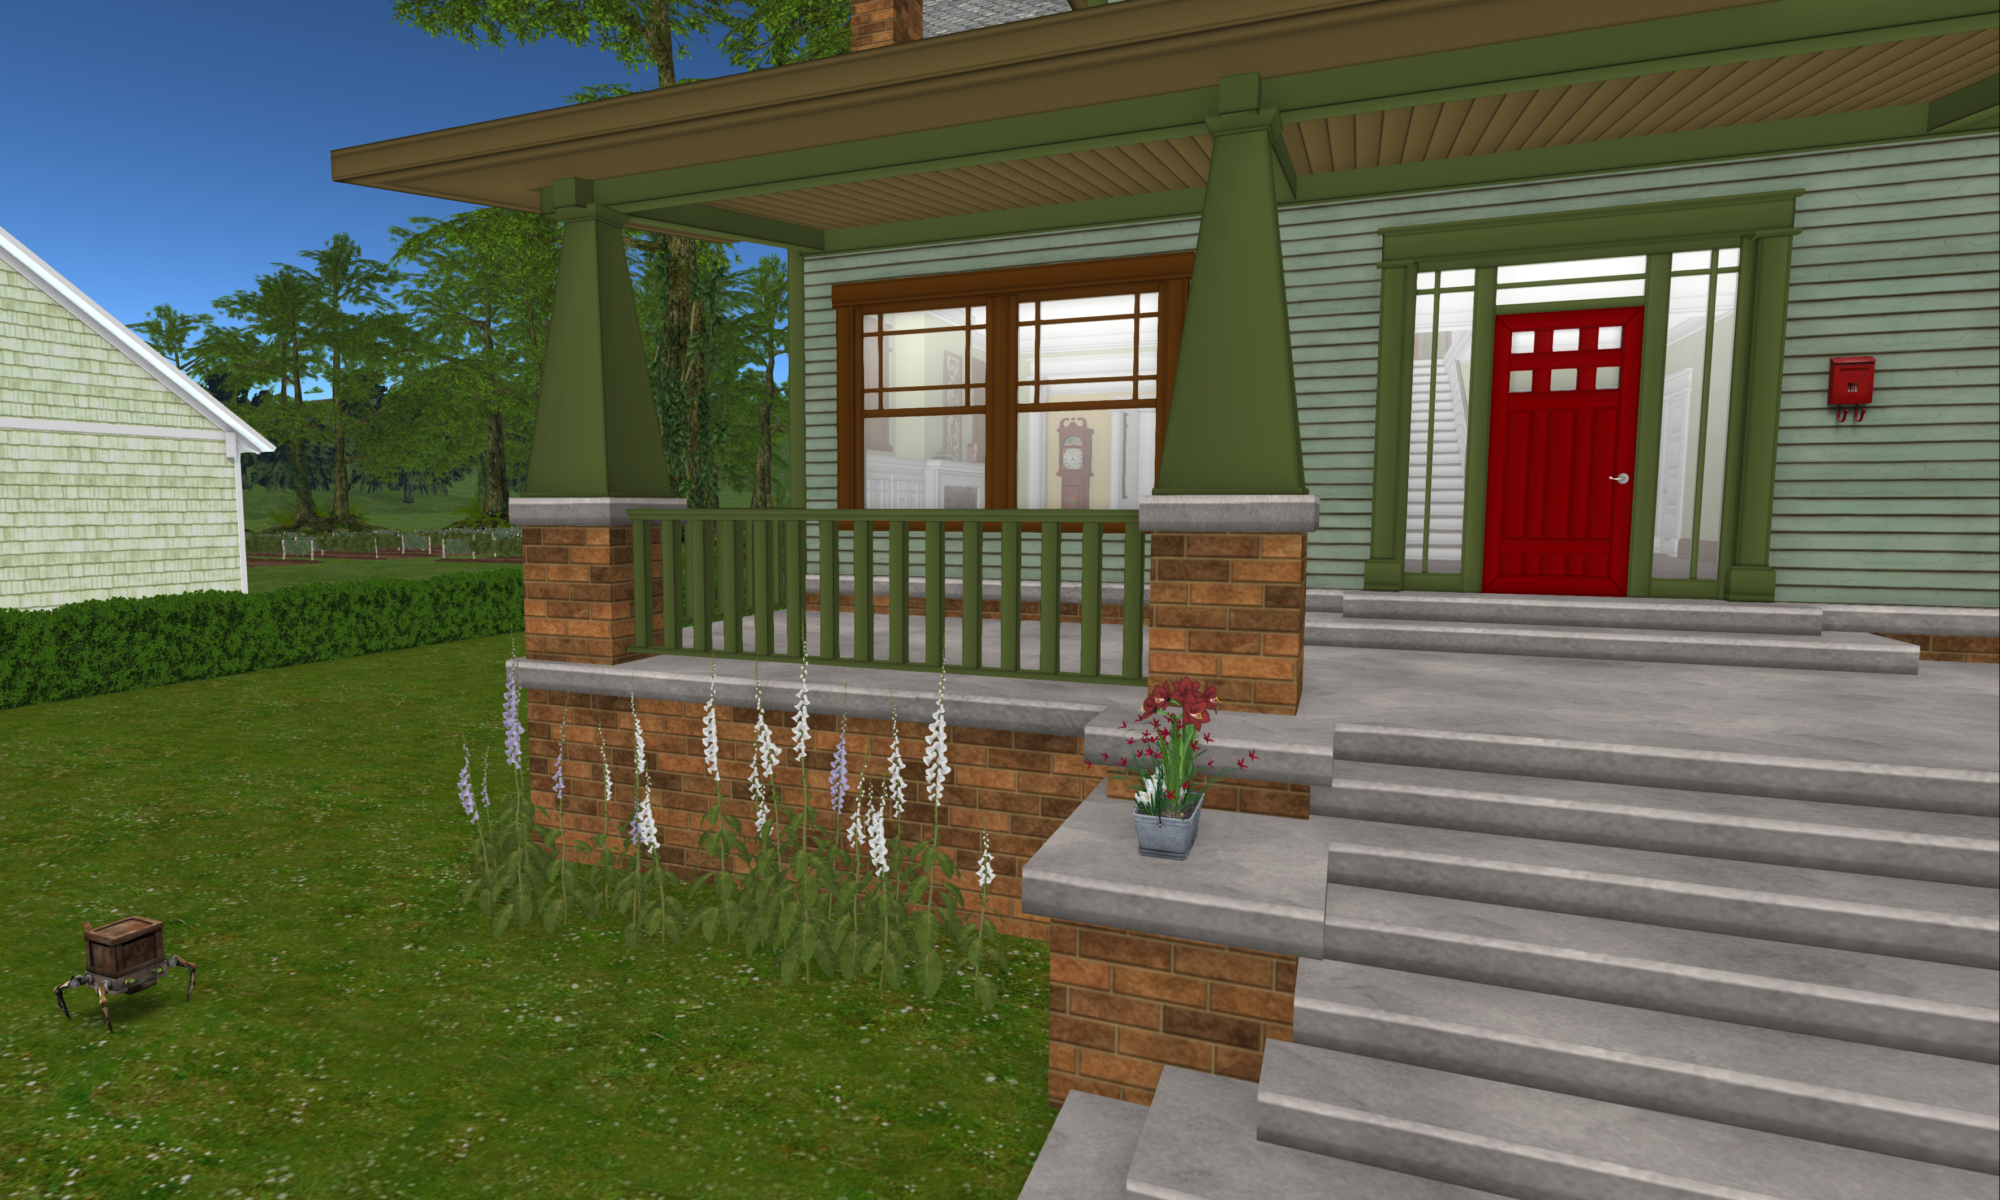
Victorian House Design
Promising site: Hill House Publishing Company – A Celebration of Victorian House Design. No affiliation, haven’t fully checked it out. I did order one of the free posters.
Do you have a fondness and fascination for old houses? If so, this site is for you!
Great cathedral build in process
Grotesk Island 95,179,86 – Trying out the Brussels Airlines HUD (b-places.com), and came to Grotesk Island. The landscaping (both physical and planting) leaves much to be desired, but the cathedral that’s still under construction is totally amazing. The flying butresses are beautiful.